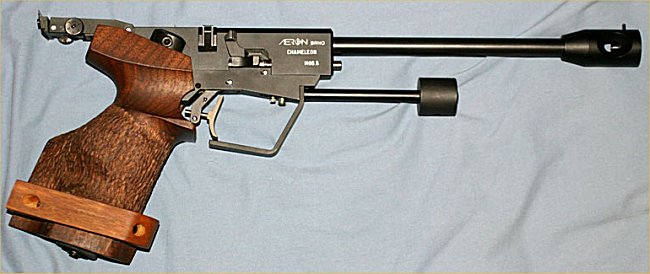
AERON CHAMELEON
Sight Adjustments
Elevation – right hand knob – clockwise up.
Windage – left hand knob – clockwise left.
Do not believe the manual.
Grip Adjustments
The grip is adjustable for rake. Loosen screw #7, adjust rake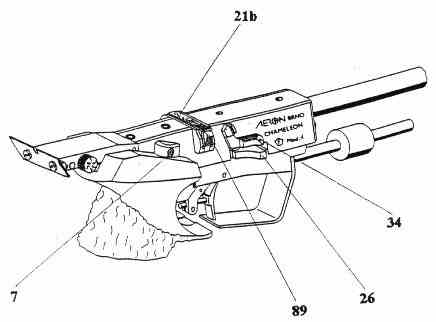 to angle required, then retighten screw #7.
Dry Firing
Cock the pistol by pulling forward on crossbar #26 (towards the muzzle). Push safety (#34) forward (rotate clockwise 45 degrees) to engage. This will allow you to dry fire; the safety limits the rearward movement of the cocking piece, thereby preventing it from unseating the gas piston and expelling gas.
IMPORTANT! Ensure the crossbar is fully forward when you disengage the safety. If you do not, it could result in firing the pistol as the safety is released. This can be both unsafe and embarrassing.
The manual also stresses you do not dry fire without the safety when there is no gas in the gun. I assume this can cause some internal damage.
Live Firing
The Chameleon has some idiosyncrasies in its loading 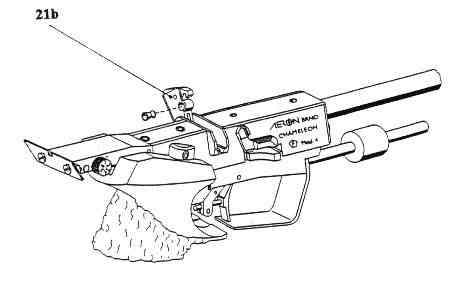 procedure, probably due to the fact that it was developed from a semi auto (the B96). You will get fewer shots per fill than the TAU 7. The gas system dictates that the firing mechanism is recocked by gas pressure before the pellet is propelled down the barrel. This is a little unusual but has no bearing on accuracy.
The other little trap is, even when firing the pistol without a pellet it is necessary to open and close flap #21b. If this is not done the pistol will not fire.
Trigger Adjustments
In order to gain access to the adjusting screws the trigger guard must first be removed. This is held in place by the counter weight bar. To unscrew this, place the appropriate sized allen key in the counter weight and use it as leverage to unscrew the bar.
The three adjusting screws from front to rear are as follows:
1. Trigger weight.
2. Trigger stop.
3. Front trigger stop (adjusts takeup travel).