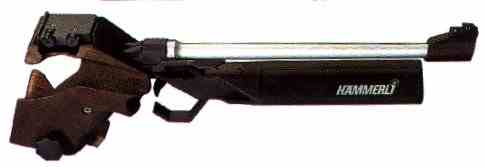
HAMMERLI 162
Sight Adjustments
Clockwise down.
Clockwise right.
1 click = 10mm @ 50m.
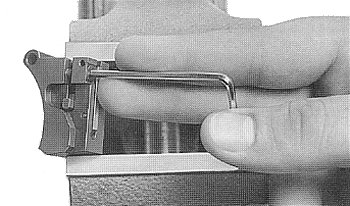
Trigger Adjustments
Both are accessed through hole in front of trigger guard; two vertical screws, one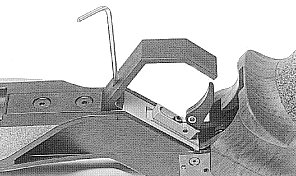 inside the other.
Trigger Weight: This is increased by turning screw 43 (2.5mm allen key) clockwise. 1 turn = 15 grams.
Sear Engagement: This can be adjusted with screw 49 (1.5mm allen key to inner set screw). To adjust, turn main switch on. Then turn screw 49 slowly clockwise until the trigger trips. The green LED will now light up. Now turn screw back (anticlockwise) one eighth to one quarter of a turn. The green LED should now only light up when the trigger is actuated.
Grip Angle
There is an adjustment of up to ten degrees of grip rake angle.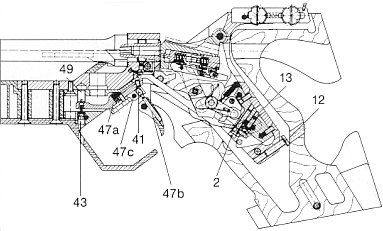 Loosen grip screws and position grip to desired angle. Then unscrew bolt 12 through hole in rear of grip until it butts against the inside of the grip. In this way the angle will ne maintained each time the grips are removed and replaced.
Stripping
| Check pistol is unloaded. Remove grips. Slacken grip screws (both sides), pull away grips down and to the rear. Remove breechblock. This must be cocked when removed and replaced in the receiver. Slacken and remove bearing screw and nut (as illustrated). The cocked breecjblock can be removed by lightly moving the breechblock lever and tipping the pistol. |
 |
| To change the firing pin. Slacken off pressure on firing pin by pushing up retention catch. CAUTION. Use a drift to knock out rear pin by 2mm. Remove retention catch and compression spring. Clamp breech block in a vise in such a manner that the spring washer can be pressed in easily. This takes away pressure from the countersunk allen screw and it can be then removed. Remove spring washer, firing pin spring and firing pin. |
 |
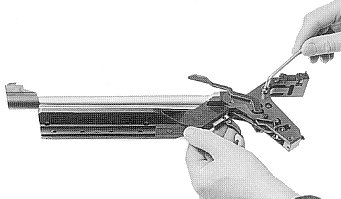
| Assembly proceeds in reverse order. Before the breechblock can be inserted, the firing pin must first be cocked (as illustrated). | 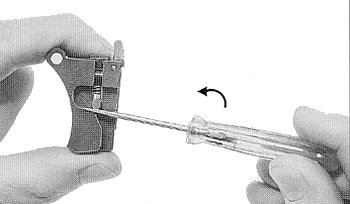 |