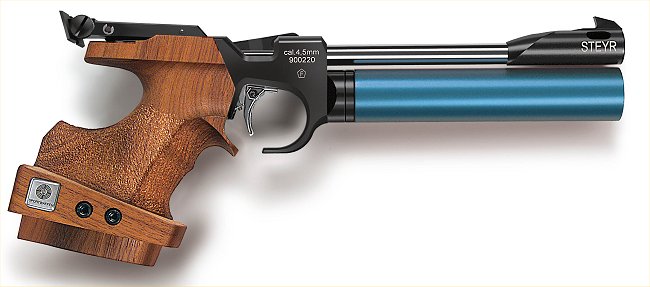
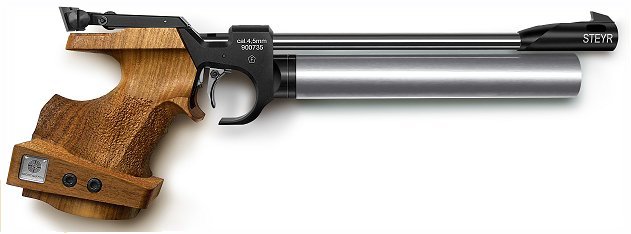
STEYR LP2
Sight Adjustments
Elevation: Clockwise down (left hand knob).
Windage: Clockwise left (right hand knob).
1 click = 1.2mm @ 10m
The rear sight plate has two notches, one is 3.5 mm, the other is 4 mm.
To change the two adjustments, loosen countersunk screw, reset the rear sight plate and fasten countersunk screw (see diagram).
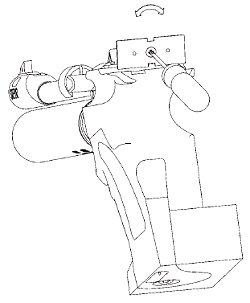
Dry Firing
The cocking lever is pulled backwards (to a vertical position) and then moved forward again until you feel the first resistance. The letter “T” on the casing is still visible.
The mechanism is cocked. Trigger characteristics are realistic and can be tested for real shooting but no compressed air will escape.
Live Firing
Pull back the cocking lever to the stop, this cocks the pistol and opens the loading port.
Insert a match pellet and fully close the cocking lever again. Only the letter “F” will be visible on the casing. The pistol is ready for firing.
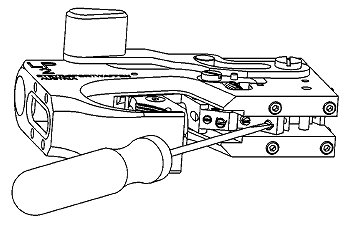
Trigger Adjustments
| Trigger blade adjustment: Loosen countersunk screw. The trigger blade may then be moved either to the left or to the right and moved in a longitudinal direction. |
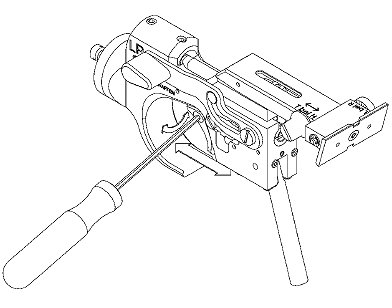 |
| Trigger Stop: Turning the screw clockwise shortens the “aftertravel” of the trigger blade after shot release. Turning the screw anticlockwise lengthens the “aftertravel” after shot release. PLEASE NOTE: A too close adjustment may cause unsteady trigger action. |
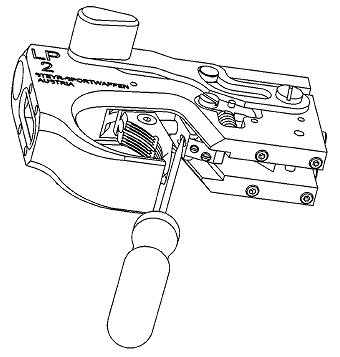 |
| First Stage Weight: Turning the screw anticlockwise reduces the trigger pull force. Turning the screw clockwise increases the trigger pull force. |
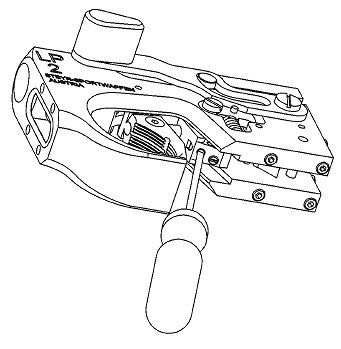 |
| First Stage Travel: To reduce first stage travel, first loosen the trigger stop screw counterclockwise a few turns. Turning the screw clockwise reduces the dead travel. Turning the screw anticlockwise increases the dead travel. |
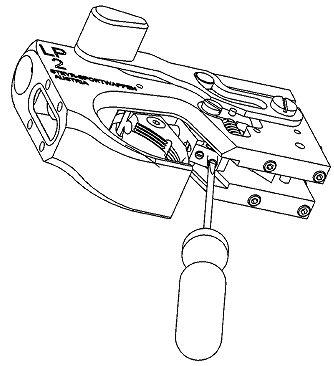 |
| Second Stage Weight: Remove grip by loosening the socket head screw on bottom side of grip. Turning screw clockwise increases the second stage pressure. Turning screw anticlockwise decreases the second stage pressure. |
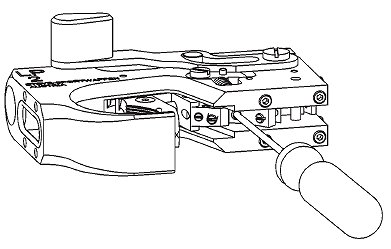 |
| Sear Engagement: The bridging of the sear between trigger sear and trigger lever is exactly adjusted by the factory and must not be changed. The screw therefore is sealed with red lacquer. |
 |
Grip Adjustment
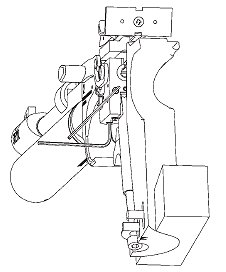
The grip is adjustable and pivotable to the action in all directions and may be widely adapted to the shooter’s stance. For this purpose the grip has to be removed. Adjustment is achieved by means of the screws located at the bottom and the rear of the casing.
PLEASE NOTE: The two countersunk screws on the rear of the casing must always protrude at least 2.5 mm, to assure the velocity screw is clear of the grip.