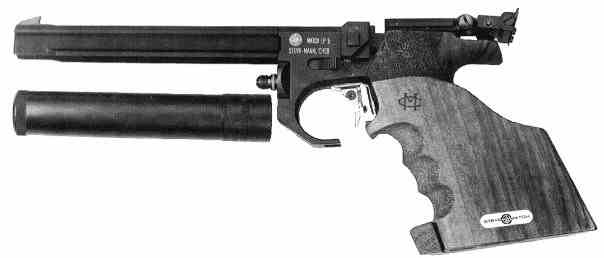
STEYR LP5
Sight Adjustments
Clockwise down (left hand knob).
Clockwise left (right hand knob).
1 click = 1.2mm @ 10m.
Rear sight adjustments (width and height) as per LP1.
Trigger Adjustments
| Trigger weight – turning screw clockwise increases pressure. | 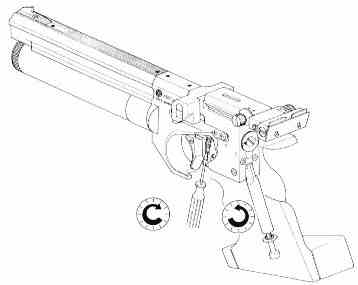 |
| Trigger Stop | 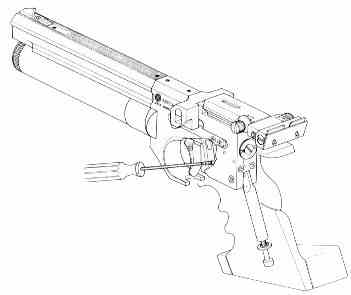 |
| Takeup – turning anti clockwise increases takeup. | 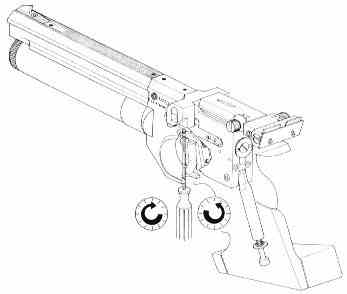 |
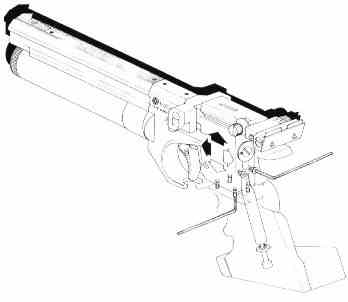
Replacing the Trigger Unit

Heavier trigger units are available for practising for centre fire events. To remove the trigger assembly:
1. remove grip by loosening the socket head bolt on bottom side of grip.
2. Remove fastening screw (b).
3. Remove clamping screw (c).
4. Remove complete trigger assembly from casing.
To replace unit:
1. With the slides retracted insert trigger unit into the pistol casing and place it against the stop up to the front of the casing.
2. Refit and tighten fastening screw (b).
3. Refit and tighten clamping screw (c).
4. Refit grip.
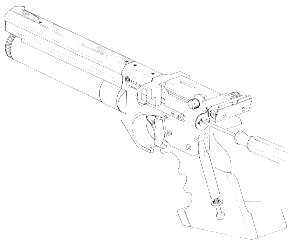
Grip Adjustment
The grip is adjustable and pivotable to the pistol in all directions and may be widely adapted to the shooting posture of the shooter. For this purpose the grip must be removed.
Adjustment is achieved by means of the screws located at the bottom and the rear of the casing (2mm allen key).
Note – the two countersunk screws on the rear of the casing must always protrude at least 2.5mm to assure the velocity screw is clear of the grip.
Velocity
You may regulate the velocity by adjusting the set screw at the rear of the receiver. Clockwise to increase velocity. Note: experimenting with this is not recommended as it may hinder the reliable functioning of the pistol in semi auto mode.